Saturday, December 13, 2014

Punch A Present

Here is another easy, fun project to do.  I found this Punch A Present idea on Pinterest.

I made it for something more along the lines of the game on the Price Is Right, where you punch a hole and hope for more money than the last hole punched.
 
My oldest granddaughter is spending a couple of nights with us, so I thought it would be the perfect fun thing to do with her. 

Just a large cardboard box from a store.
 
I used a saucer to trace and cut the circles.
 
I glued pieces of cardboard behind each hole, to set the presents on.  But that didn't work, the cardboard bent backwards.  I had some small craft sticks, hot glued them to hold up the cardboard.
 
Worked like a charm.
 
Outside for quick spray of white paint.
 
I used red and green tissue to cover the holes.  Then I realized, when the hole was punched, the gift might fall off the shelf.  So, hmm, what to do, what to do.  I took some scrap cardboard and sort of made a wall.  Worked perfectly
 
I traced some letters and painted them red and green.  I added some Christmas pompoms for a more festive look. 
 
I will let her punch one hole, then she will decide to keep the gift or trade it in for a chance at a better gift.  They are just small little presents, with the big gift costing $10.00.  The rest were under $5.00.
  I have made a memory for her and I am sure she will enjoy it.
 
...on to my next project. :)

Sunday, December 7, 2014

Stick Christmas Tree

I am a trash to treasure kind of girl.  Why spend a lot of money, when I can gather a few items, use a little (sometimes a lot) of elbow grease and create something unique and different.  I came across this Christmas-Tree-To-Go  made from sticks and Christmas odds and ends.  How hard can it be?  ...not hard at all.

The page is in German, but all I had to do was look at the picture. Heck, I never fully read (looked) at the entire page until just a few minutes ago.  Several months ago, I found the picture, and put it in my inspiration folder.  All I had was the picture, never venturing back to read how to do it. 

What I have found out in the last hour or so, since reading (looking) through the entire page, is that the tree on the page is considerably smaller than the one I have made.  I knew it was called "tree to go".  But never thought about it being so small.

In hindsight, I also like the smaller ones.  To have a small wall space with one tree, or a wall with several small trees would be just as different. ...and I like different. 

It is what it is.  I made mine much larger.  But...I still like.  Actually, I am really diggin it.  I like it so much, that I just might make a tree for every holiday.  The Dollar Tree sells many small trinkets for each holiday.  Plus, it took up a bare spot of the wall.  Win/win.


Wednesday, December 3, 2014

Dress Up Felt Dolls

My youngest granddaughter is 3 years old and she LOVES to play with paper dolls, magnetic dolls and any doll that you can dress and undress and dress and undress and dress and undress.  Get the picture. 

So, I go online via Pinterest looking for easy dolls to make.  I came across these felt dolls.  Yep, I can do this.  Off to Michaels I go for a variety of felt.  Everything else I had. 

I followed the instructions, sort of, making a few adjustments along the way.  Plus, even though I bought sticky felt, as instructed, and read the instructions several times, I couldn't find where or how to use it.  Oh well, added it to my stash.

Here is my felt doll.  I just know she is going to LOVE playing with it.  Maybe, I will cut out one more doll, every girl needs a friend. 


Tuesday, October 28, 2014

PVC Halloween Candle

I can spend hours on Pinterest looking for crafts and DIY projects.  The only problem is, I wish I could do everything as fast as I pin. With every holiday, there are countless holiday crafts and projects to make. 
So, when this PVC Halloween Candle came through my boards, I knew it was something I wanted to try.  After reading through the list of things I would need, I realized I had most of it already.  All that was needed, were tea lights and the PVC.  The instructions were very easy to follow. 

Hubby cut the PVC into random sizes.  I also ask him to cut the top at an angle.

I used PCV glue to glue the pieces of PVC together.  That should be done before putting the hot glue around the top. Then, I just put rings of hot glue around the top.  I would push out a huge amount and let it run down the sides.  Sometimes I had to use the nose of the glue gun to help push the glue down.

Let each layer of hot glue cool before putting another layer of glue.  If not, it will just mush together.  Next is where I ran into trouble.  After getting a nice build up around the top, I grabbed a tea light and tried to put it in the top.  Aaauugghh, it wouldn't fit.  I should have gotten PVC just a tad larger.  Since the lights wouldn't go in from the top, they have to be slid up from the bottom.  I have to slide the black insulation up after the light.  Then I have to take the insulation out to turn the lights on and off.  Oh well, trial and error.  The insulation is what holds the tea light in place.  I forgot that picture. 

I spray painted them an off white color.

I simply couldn't get the "aging" part right.  I tried and I tried.  I repainted it 4 times before accepting the fact that it was not going to look as good as the one I was copying.

Ta-da...the finished project.

Happy Halloween

Wednesday, October 15, 2014

Child Excercize Block

I found this very easy, peasy exercise block to make for my youngest granddaughter. 
She is about to turn 3 and is very active.  I thought she would enjoy doing her own exercises.  Albeit, if it's just jumping around in the living room.  Plus, with the winter months coming on, she will be able to work off some of that 3 year old energy.
 
I have scrap wood, so hubby cut me a square.  I painted it white and cut construction paper squares to put on the sides.  I used the same exercises as the block I copied. 

I think she will like it.  ....I do.
 

Monday, October 13, 2014

Book shelf to Dollhouse

I always try and think outside the box, by seeing what I can do with something about to be thrown away or just no longer useful.

For years, we had the plain old boring bookshelves that every box store carries.  They are inexpensive and frankly, they serve a multitude of purposes.  But I really want to rid myself of them and find more unique/different, more personable ways of displaying my chachkies (trinkets).

Time for this plain ole shelf to go.  You can see in the first picture, where I had already tried to change it by, adding fabric to the back.  Yuck, Eww, Phooey.  Time to find another purpose for it.  After spending hours and hours on Pinterest, I decided to make a doll house for my youngest granddaughter.  While ridding myself of something I know longer want, I in turn, make her a unique and personable doll house. 

Plus, imaginary play is so important.  And it is not easy to do.  That is why some people have trouble playing with kids, they don't know how to pretend.  With the doll house, she can work on her language skills, her thinking skills, her social skills and just having fun by herself.

At first I thought about making doll house furniture from odds and ends, but with her being two, she would have it destroyed in no time.  So, I settled on inexpensive doll house furniture.  I did try and add some personal pictures and wall art from my craft box. 

If she continues to play with it, then I can buy her more furniture.   By tomorrow, she might have moved on to something else.

But for now, she has a new toy, made with love, especially for her by her Gma.

Wednesday, July 9, 2014

DIY Backyard water pad

I have seen the pictures on Pinterest of a water pad.  A large piece of folded plastic that the kids can play on.  Easy and inexpensive.  This seemed like a perfect way to spend an afternoon visit with the granddaughters.
 4 mill plastic folded over
 We used duct tape to secure the edges.  Sometimes 2/3 layers. This took us a couple of hours. We left a small opening on one corner, to slide in the water hose. .
 Filling with water
 I bought 2 large bottles of blue craft paint and poured it into the opening where the hose was.  As the pad filled, we noticed small leaks.  So, we had to constantly walk around, putting duct tape on the leaks.  At one point, we said enough.  They leaks were miniscule and the girls would have a few hours to play.
  The girls had an afternoon of fun, before ripping it apart and flooding the yard.  All in all it was a great success.

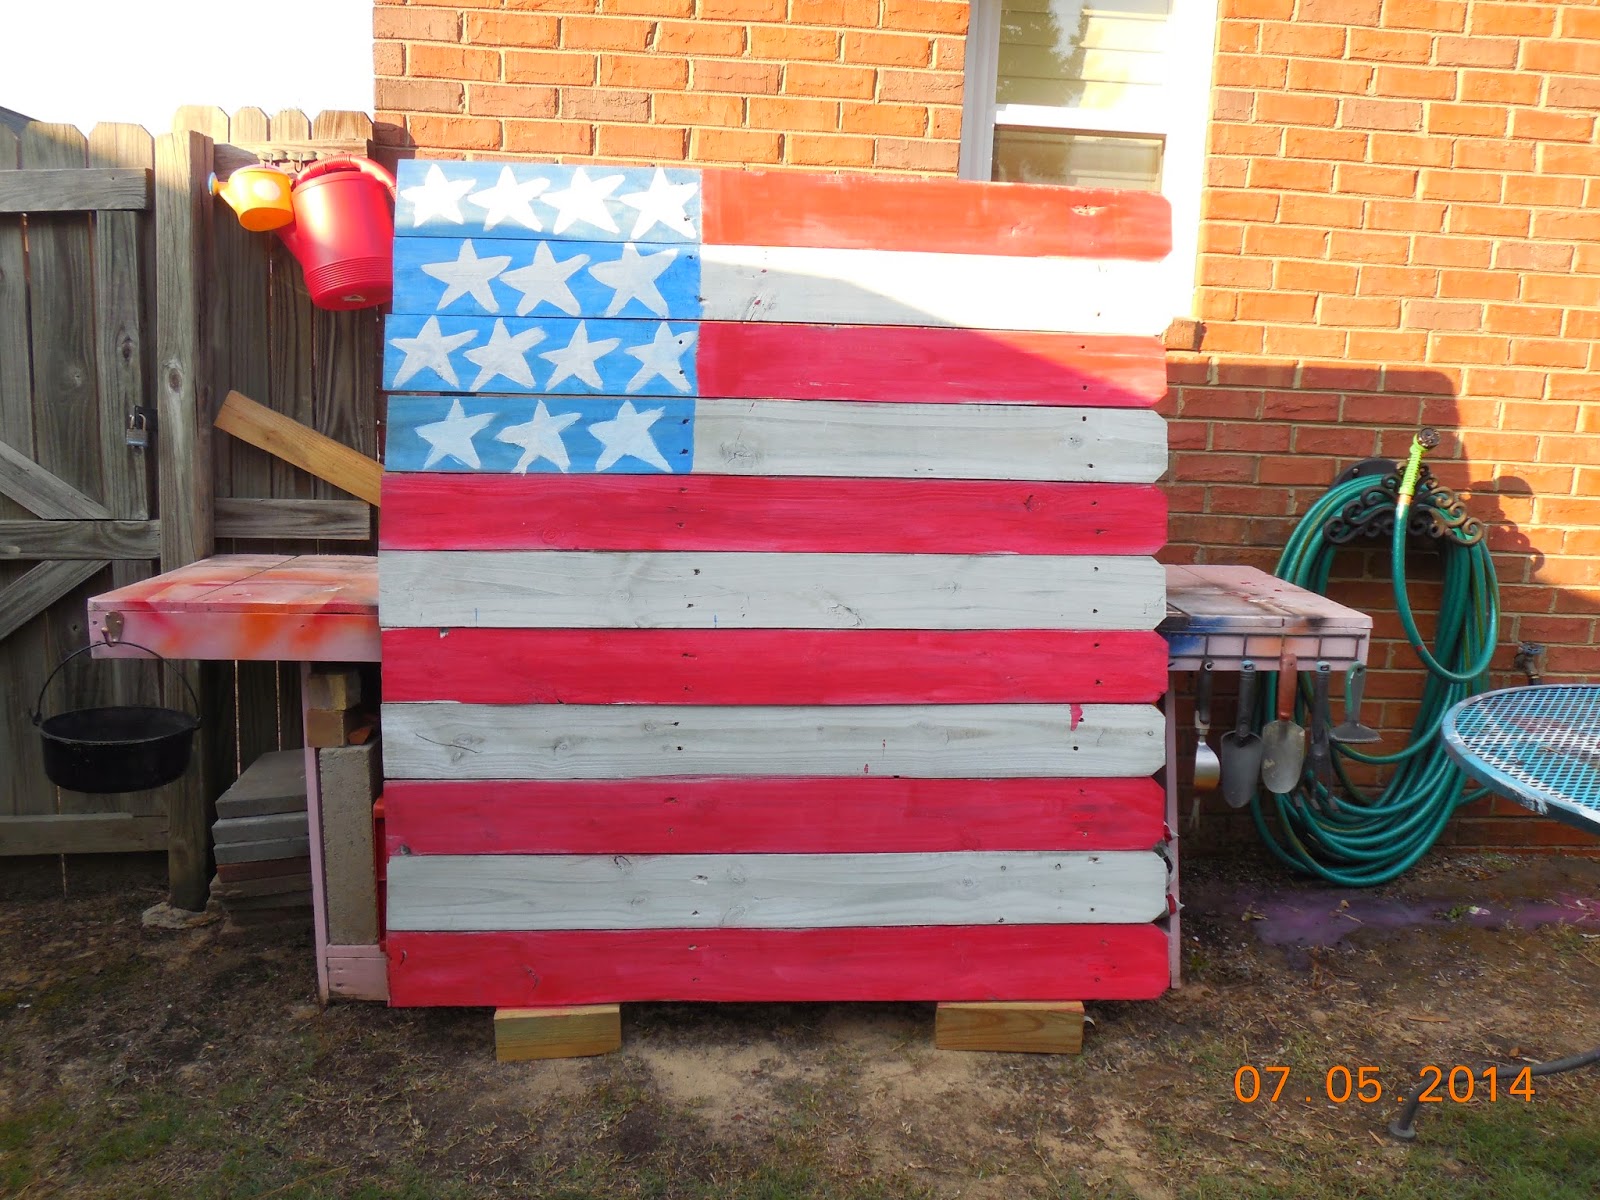
Fence Post Flag

I knew eventually we would need to replace some of the privacy fence posts.  I was simply waiting in the shadows for hubby to start taking them down.  Finally the day came, when he replaced about 20 of them.  Yay!!   He was able to provide me with about 15 good ones.  That was enough.  I knew I would mess up one or two...maybe 3 or 4.  :)

My plan was to make a flag to prop up on the backyard hill.  Here is my project.