Tuesday, December 14, 2010

Closing in the area above the fireplace

I totally don't understand why builders put this open space above the fireplace. Well, I know it's built for the television, but it seems so silly to me. If you have a large room, where the seating is way back from the television..it might be a perfect fit. But, my living room is very small. We literally had to lift our heads to watch TV. I had to come up with a solution.
Ta-da...my solution was to close it up. Never had I dealt with sheet rock, but was gonna give it a try.  We bought the supplies.  Hubby built a frame of sorts, so we would have something to nail the sheet rock to.
Taping, mudding and sanding was all new to me.  At one point, I sanded to hard, and we had to take it down and replace the sheet rock.  I wanted the seams smooth and seamless, but just couldn't get it that way.  If it's not perfect, I tend to want to do it over and over until it is.  If other people can do it, surely I can do it.  But any new skill, takes practice, and doing something one time is not enough practice. 
Here is the finished look, albeit from a distance.  But, if you were able to see it up close you would see the seams and that makes me feel...embarrassed, as I know it should be smooth.  There are times, when I dust the mantel, and see the unevenness of the seams, and it makes me want to rip it down and try it again...but not today. :)

Thursday, November 25, 2010

Door to Desk...completed

Many moons I go, I stumbled onto Young House Love, a site full of DIY projects, advice and a very nice couple sharing the good, bad and ugly of their own DIY projects.  One of their projects that I have had my eye on is a DIY door to desk.  They say imitation is the sincerest form of flattery.  I hope they think so.

 We bought the door and legs from Lowes.
 
Hubby doing his part.

Here is what the Kreg jig does...it makes very nice pockets enabling you to screw the pieces together easily. Making the work look better and the project sturdier.

Here we have put the legs on the table. Now, in the design we are copying, they had the legs inset a couple of inches...which I liked. BUT...when we tried that, the screw went straight into the hollow door, completely bypassing the border stud (or whatever it is called). It could have been just a minute amount, but we didn't want to put another jig hole into the leg, so we decided to just put the legs flush with the edge of the table.

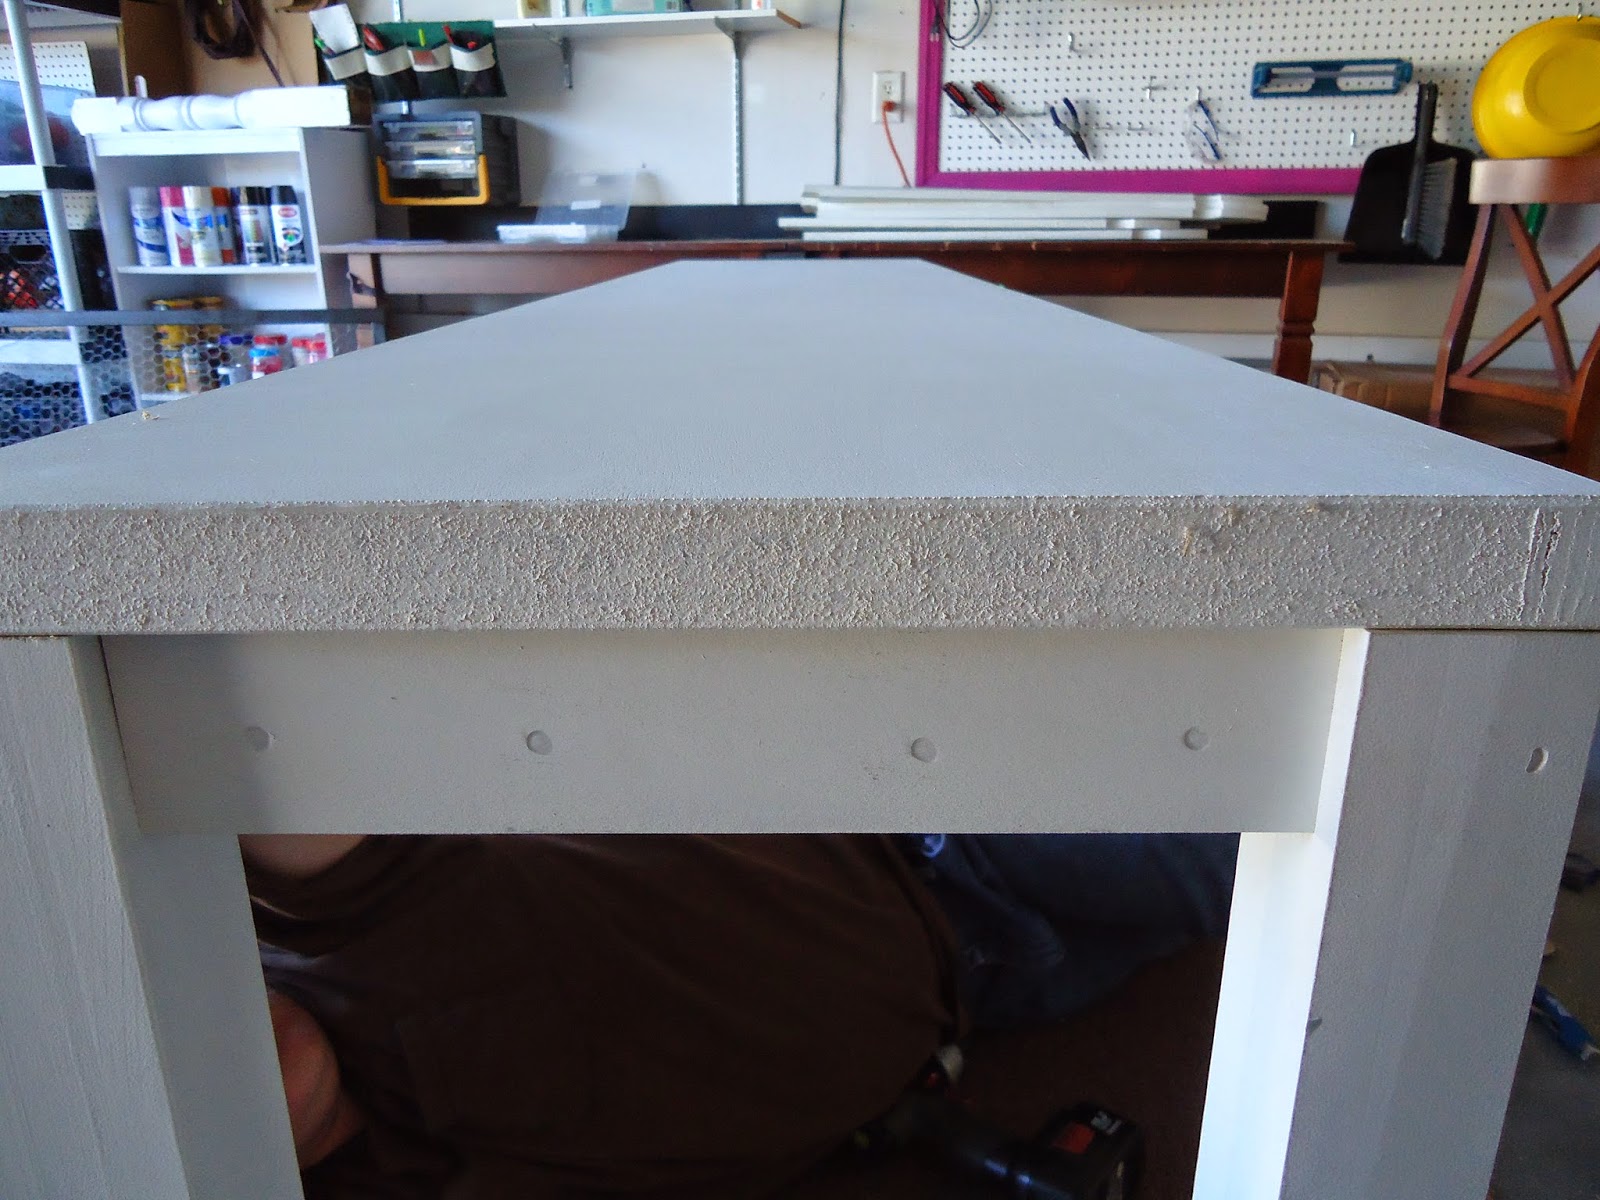
Here you can see the pocket holes that go around the table. You can also see, where we chose to add the rail a tad inside the table. We did this simply to add a little bit of "character" if there is such a word for your first wood working project.


Now here you can see the little indents that was made by the clamp. I really wasn't expecting these to be there. Hmm, maybe I can put a little putty and sand smooth. You can also see on the right leg where it doesn't quite touch the top. No biggie, I will just push some wood putty there and sand.


Together and upright. I know some will say it is very narrow. Well, it is... but the room it is going in, is a small room. Also, in this room is a two seater chair that opens to a single bed..and when opened I don't want to worry about it hitting the desk.

Now, here you can see the comparison between the old and new.  The old desk WAS also twice as deep as it is now, just recently we cut it in half, just to see if I could function with a narrow desk. You can also see, that the length is longer than that the old desk, which will allow me to spread items out.  I think it will work just fine.

The hard part has come...what color do I paint it?  My house is very plain, boring and dull...I so want to add some color..but once you add color especially to something major like a desk, it will be hard to add more colors..so the choice has to be right on.  A color that is neutral but yet adds color.

Please ignore the cardboard boxes under the desk...they have since been removed.  When it is painted and in place, I will post a picture of the finished project.

UPDATE:  As much as I wanted color, I just couldn't do it.  There are way to many colors and I had no idea of what color to choose.  Went to HD and brought home handfuls of those little color squares.  I looked, looked and looked at them for days...which color to choose?  ...what if I paint it a nice blue or a pretty red or a vibrant green...and then you walk past the room and all you see is this color desk. 

My colors will just have to come from small accent pieces, it's much easier that way.  Or atleast until I follow Nike's rule and Just Do It...maybe someday.

..and the color is "evening hush".

I know, I know..it's my normal, safe color...but I like it.  There needs to be another coat of paint put on the top, then lightly sand, layer of poly, lightly sand and layer of poly.  With the weather being cool, the process takes longer, as the paint takes longer to cure.  But as soon as it's in the house and ready for show, I will post the completed project. 

UPDATE:  We can now check this project off our to do list.  The door is now officially a desk.

Before
                                                                             After
I love how the room seems so much larger, simply by have nothing under the desk.  The downside is that there are no drawers and I have lost all that storage.  Several times this evening, I have had to get up and go to the other desk, and retreive supplies. 

We are thinking about cutting the drawers off of the old desk, painting them the same color as the new desk, adding wheels to the bottoms and rolling them under the new desk.  It might work.  In addition to having drawer space, those drawers hid all the cords...you now can see every cord...eww...so not attractive.  Those drawers served several purposes...storage and hiding the cords.

Now, that I have the new desk, I want a new chair.  Not a computer chair, but a real desk chair.  Maybe I can find one at a thrift store, yardsale or side of the road, one that just needs some TLC, like a new paint job and/or recovering it with some new fabric...keeping fingers crossed.

Reminder To My Sister....you should be able to click on a picture to enlarge it.

Thursday, October 28, 2010

House O Lantern 2010

Last year we did this to our house and we got such rave reviews from the trick or treaters, that I decided to do it again.  Here is where I found it...Family Fun House O Lantern

I was trying so hard to get it right...got the cardboard up, (notice the markings on the top are facing inward..good thing)  There were no markings on the bottom cardboard.


Cut out the face...(notice the markings on the top are now facing outward, BUT I don't notice it...yet)


Taped the orange tissue paper to the cutouts...(still don't notice the markings are facing outward)


Go outside to have a look see....

NOW, I notice that I have turned the box around...crap.  Do I take it down..remove all the tape, tear out the tissue paper, turn the squares around?  Nah, I don't think so...as it will be dark and the markings should not be seeable from the road. 

..we have to wait for dark thirty to see how it looks....

Ta-Da it's Boo-tiful

Sunday, October 10, 2010

chicken wire bulletin board

At one time, I had a bulletin board in here, and then didn't like it, so it came down.  But over time, I realize I need a place to hang things, whether it's projects to do or a new recipe to try.  It will be an easy place for me to hang pictures from magazines or ones I print out.  This will make it easier for hubby to see what our next project will be.

I can't remember why this chicken wire was originally bought, but it has been hanging in the garage for over  a year now.  Well, I finally found a use for it.  I went to HD and bought these thin strips of wood out of the scrap wood bin for $2.00.

Hubby used the Kreg Jig and made the frame.  Then I stapled the wire to the back, cutting off the excess wire.  I put a picture hanger on the back, and spray painted it black. Used clothes pins as hangers.
Ta-Da...my new bulletin board.  Love it.

P.S. I want to paint the clothespins several different colors, to make it pretty.

Sunday, May 2, 2010

"Flower Bed"

Today I went and bought a few fences panels to use as the frame on my "flower bed".

My knowledge is NOT in the area of how to connect the wood frame to the metal headboard and footboard.  But, give me a garage full of tools, and a few minutes, I will figure it out. I thought about using screws, but didn't want to be digging in the dirt and scrap a hand on a screw.  So, hmmmm...how was I going to keep it all together?  Duct tape...nah, it wouldn't hold up in the weather.   Hot glue..nope, just not strong enough to support the weight of dirt pushing against the frame.  Aha...POW strips or to most people they are called zip strips.  I call them POW strips because, during war time they are used as handcuffs.

I learned to use the sawzall simply by using it...so I cut the boards to fit the frame. I also know how to use a drill, so I drilled holes in the wood, pushed a  POW strip through the hole, wrapped it around the metal legs and pulled it through another hole.  All this has been done without the help of my husband.  But, alas,..I do need him to pull the strips tighter for me.  My upper body strength is just not as strong as his.

That's as far as I got today..keep you updated.

Sunday, April 25, 2010

Rotating Pegboard


There is a stack of do it yourself/handyman magazines on the coffee table (which belong to me), and on occassion my hubby will pick one up and look through it.  Well, lo and behold, he picked up this months and found something he wanted to try.  I was so excited that he wanted to get outside and create..as this is my area of interest/fun. 

He had a pegboard on the garage wall that held his tools, but decided to build this rotating pegboard.   As you can see in one picture, he is so into the project, daytime has turned to nighttime, and it is dark outside. 

This new project takes up less space, thus making room on the wall to build some shelves...to store more stuff...love it.  We already had the pegboard..the cost was about $40.00