Sunday, August 21, 2011

Jewelry Christmas Tree

Awhile back, I made a Jewelry Christmas Tree (above) for myself.  I really liked it, but everytime I walked past it, I would say to myself...redo it, redo it.  See how the side on the left side is bulging out.  It drove me crazy, but I would always justify it..with Christmas trees are never perfect.  So, I continued to ignore my desire for the do over.

UNTIL..

I found out my youngest son and DIL were expecting, and had a light bulb moment.  It was... I would take it down, and make two trees.  One for each granddaughter. It would be a nice gift for them to always have.  And with me, it is all about making some memories, memories that are more than just knowing the person.  Memories also need to include things that you can touch and feel..things that you can see and then know someone did this for you.  Someone took the time and the thought to do this for you...it matters. 

I did my best to personalize each of them, so they will always know which belongs to them.  So, on each tree there are certain pieces that relate to them personally.

Not perfect....but very pleased with both of them. 
WOW

Sunday, July 31, 2011

Melted Crayon Wall Art

I found another inexpensive way to make a unique wall art piece.  It was here at naptime-craft time where I discovered this little gem.  Now, my days of having napping young ones are way in the past, the only one who naps around here now, is me.  But, I still enjoy the easy, inexpensive art work that Tracy's enjoys with her children.

Now, there is also one on Etsy here for $70.00 plus s&h. It is much prettier than mine, but for me, mine works just fine.

Here is my attempt at melted crayon wall art:

I lined the crayons up in rainbow fashion.  Years ago, when I was a para-professional, I learned that a rainbow is always in the same line of colors...and the way to remember the order is by using the mnemonic device,  ROY G BIV. Red, Orange, Yellow, Green, Blue, Indigo and Violent.  A little color lesson for you.

I had an old frame and used spray adhesive to glue a piece of poster board to the frame wood.

I drew a straight line with a ruler and used a hot glue gun.

I noticed my crayons were lining up crooked so, had to pry them off and straighten up the line.

 It was very hot outside, so I propped it up on the brick wall. 

 After returning home, several hours later, I go outside so excited to have a look/see. Well, look what I see.  A couple of the crayons had fallen off.  And although the crayons have heated and foamed up, there is not much dripping going on.

 ..so out comes the blow dryer.

 The look is not exactly what I wanted, I wanted the lines to just drip.  But the dryer blows the melted crayons, making a different look.

 Here it is..framed and ready to be hung.  
I love it.

Now, there is also one on Etsy here for $70.00 plus s&h.  It is much prettier than mine, but for me, mine works just fine.

Thursday, July 28, 2011

Crayon Initial

I am always looking for inexpensive ways to make wall art to be used in my own home or to give as gifts.  This idea I found here at...chic cheap nursery.  Originally I thought this would make a great gift for my 10 year old granddaughter to give to her teacher..I still do.

...but with the new granddaughter due in December, I thought ..hmmm, I want to make her one.  With back to school supplies being abundant right now, the price on a box of crayons is about 30 cents.  Nothing better than a new box of Crayola crayons.

My two granddaughters will have the exact same initials...how cool is that. If I make something, and one doesn't like it, then I can pretend and tell the other one I made it for her.  he he

Wednesday, April 6, 2011

Master Bath Part 5...Framed Mirror

The big ole plain mirror in the bathroom lacked style or personality.  Again, after reading many DIY blogs and seeing others frame mirrors...I said I could do that.  And I did.  Everything went together great.  A project well done, if I do say so myself. 
The frame is sold in a packet, which is used to frame a door, cost $10.00.  The corner squares are an extra touch of style.
I caulked a line of mirror liquid nails, making sure to keep the line away from the side that is inside the mirror. Because, if you get it to close to the edge you will be able to see the line reflection in the mirror.

I spray painted it black and then roughed it up, with a light grit sandpaper.  Just enough to make it look worn. You can see here where it didn't connect, but it was level perfect.

I caulked the opening and took a black magic marker and painted it. Perfect.

Ta-Da...beautiful..and the mirror isn't to shabby either.

P.S.  Remember, click on a picture to enlarge.

Sunday, March 20, 2011

Old Door to New Headboard

Since we bought the new door, I was at a quandary as to what to do with the old door.  Can't trash it, not this lady...got to use it for something. Got to think outside the box. Too many ideas on turning trash into treasure to just throw it to the curb. 

I found many wonderful ideas for turning doors and many other junk items into useful, cool and unique pieces here.  This site has many pages of ideas and projects.  I love looking at all the creative ways people turn trash into treasure.

My plan was to turn the old door into a new headboard for my bed.  I ask hubby to help me just put the door at the top of the bed to see if I liked the look.
Well.. let me tell you, I love it.  Hubby wasn't so into it.  He really doesn't like the country, antiqued.. turn trash into treasure thing.  But, he sees how excited I get, so he will go peacefully into the project with me. 

Here you can see, where hubby removed the side of the door where the knobs were and stuck..hmm I don't know 2x4's or maybe 1x4's up into the door for added stability.  Then  (wish I had taken a picture) holes were drilled into the 2x somethings at the bottom and bolted to the metal bed frame.
Here you can see the door knob holes, I chose to put that part at the bottom, as I want to spray paint the door hinges for added appeal on top.
Ta-da..Trash to treasure...what a creative and inexpensive way to get a new headboard.  Love it.

Tuesday, December 14, 2010

Closing in the area above the fireplace

I totally don't understand why builders put this open space above the fireplace. Well, I know it's built for the television, but it seems so silly to me. If you have a large room, where the seating is way back from the television..it might be a perfect fit. But, my living room is very small. We literally had to lift our heads to watch TV. I had to come up with a solution.
Ta-da...my solution was to close it up. Never had I dealt with sheet rock, but was gonna give it a try.  We bought the supplies.  Hubby built a frame of sorts, so we would have something to nail the sheet rock to.
Taping, mudding and sanding was all new to me.  At one point, I sanded to hard, and we had to take it down and replace the sheet rock.  I wanted the seams smooth and seamless, but just couldn't get it that way.  If it's not perfect, I tend to want to do it over and over until it is.  If other people can do it, surely I can do it.  But any new skill, takes practice, and doing something one time is not enough practice. 
Here is the finished look, albeit from a distance.  But, if you were able to see it up close you would see the seams and that makes me feel...embarrassed, as I know it should be smooth.  There are times, when I dust the mantel, and see the unevenness of the seams, and it makes me want to rip it down and try it again...but not today. :)

Thursday, November 25, 2010

Door to Desk...completed

Many moons I go, I stumbled onto Young House Love, a site full of DIY projects, advice and a very nice couple sharing the good, bad and ugly of their own DIY projects.  One of their projects that I have had my eye on is a DIY door to desk.  They say imitation is the sincerest form of flattery.  I hope they think so.

 We bought the door and legs from Lowes.
 
Hubby doing his part.

Here is what the Kreg jig does...it makes very nice pockets enabling you to screw the pieces together easily. Making the work look better and the project sturdier.

Here we have put the legs on the table. Now, in the design we are copying, they had the legs inset a couple of inches...which I liked. BUT...when we tried that, the screw went straight into the hollow door, completely bypassing the border stud (or whatever it is called). It could have been just a minute amount, but we didn't want to put another jig hole into the leg, so we decided to just put the legs flush with the edge of the table.

Here you can see the pocket holes that go around the table. You can also see, where we chose to add the rail a tad inside the table. We did this simply to add a little bit of "character" if there is such a word for your first wood working project.


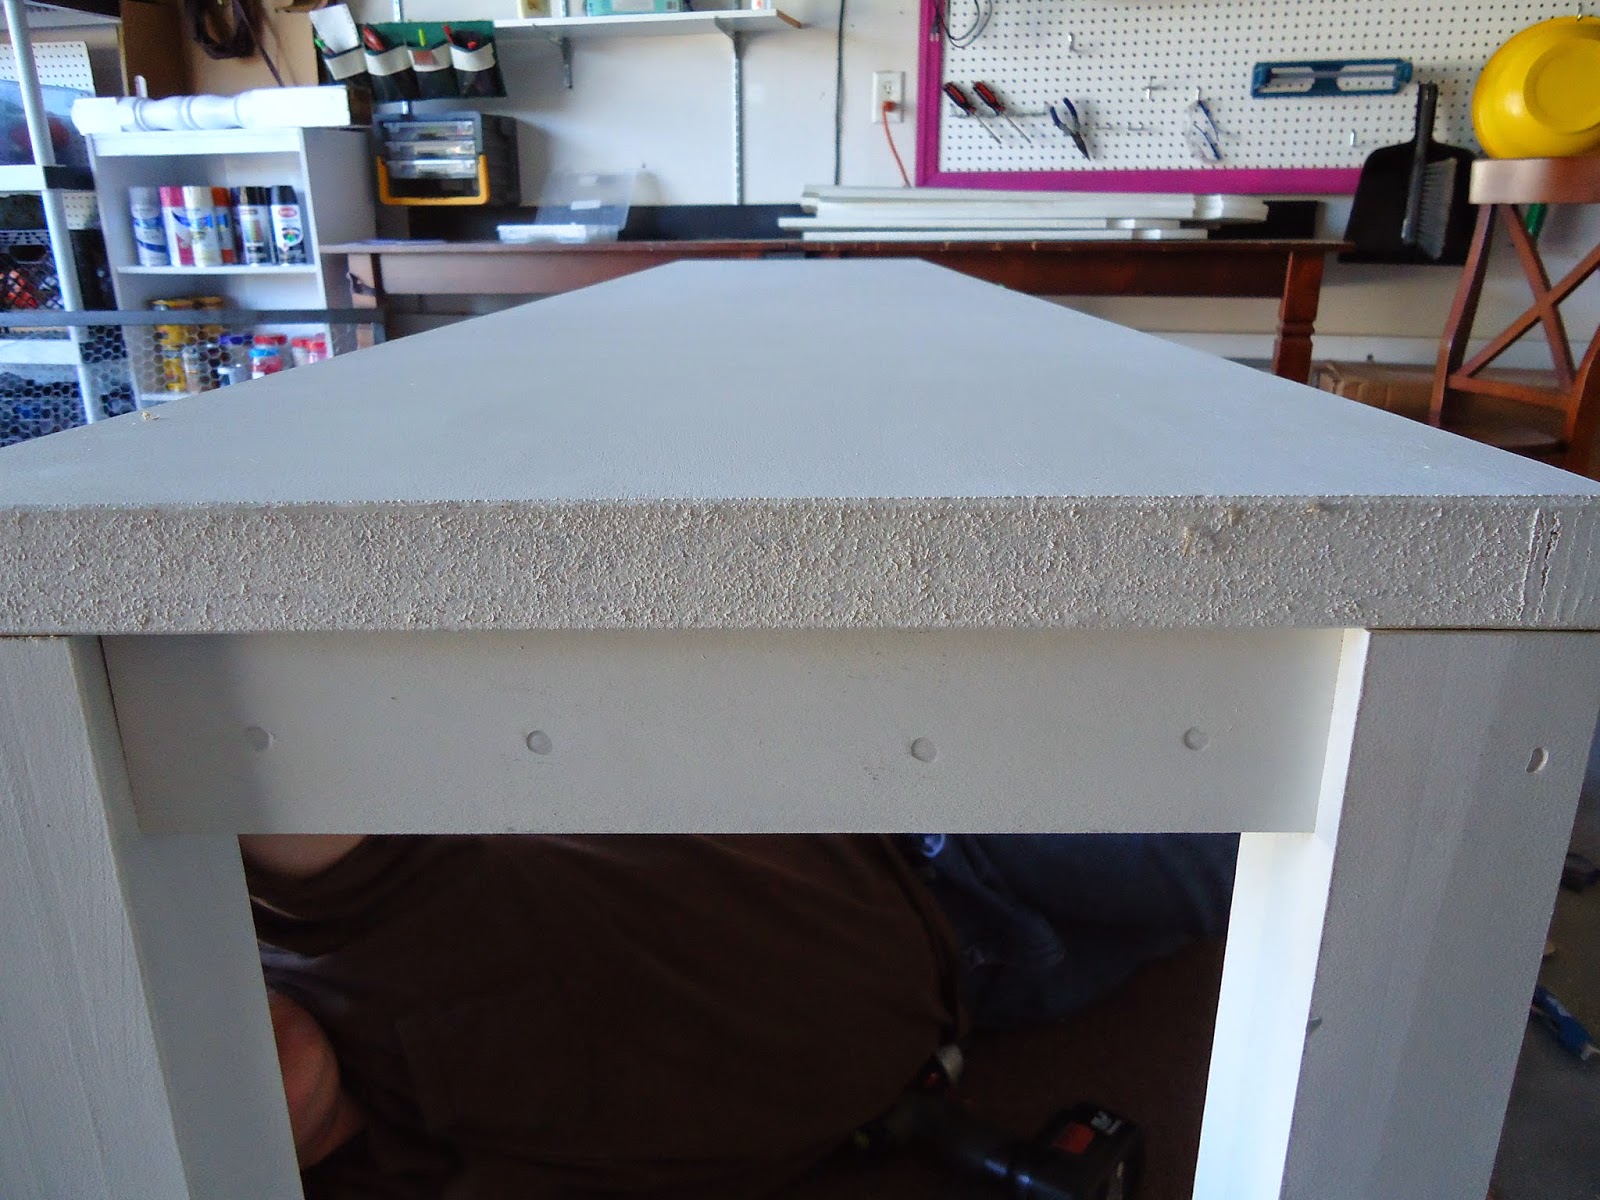
Now here you can see the little indents that was made by the clamp. I really wasn't expecting these to be there. Hmm, maybe I can put a little putty and sand smooth. You can also see on the right leg where it doesn't quite touch the top. No biggie, I will just push some wood putty there and sand.


Together and upright. I know some will say it is very narrow. Well, it is... but the room it is going in, is a small room. Also, in this room is a two seater chair that opens to a single bed..and when opened I don't want to worry about it hitting the desk.

Now, here you can see the comparison between the old and new.  The old desk WAS also twice as deep as it is now, just recently we cut it in half, just to see if I could function with a narrow desk. You can also see, that the length is longer than that the old desk, which will allow me to spread items out.  I think it will work just fine.

The hard part has come...what color do I paint it?  My house is very plain, boring and dull...I so want to add some color..but once you add color especially to something major like a desk, it will be hard to add more colors..so the choice has to be right on.  A color that is neutral but yet adds color.

Please ignore the cardboard boxes under the desk...they have since been removed.  When it is painted and in place, I will post a picture of the finished project.

UPDATE:  As much as I wanted color, I just couldn't do it.  There are way to many colors and I had no idea of what color to choose.  Went to HD and brought home handfuls of those little color squares.  I looked, looked and looked at them for days...which color to choose?  ...what if I paint it a nice blue or a pretty red or a vibrant green...and then you walk past the room and all you see is this color desk. 

My colors will just have to come from small accent pieces, it's much easier that way.  Or atleast until I follow Nike's rule and Just Do It...maybe someday.

..and the color is "evening hush".

I know, I know..it's my normal, safe color...but I like it.  There needs to be another coat of paint put on the top, then lightly sand, layer of poly, lightly sand and layer of poly.  With the weather being cool, the process takes longer, as the paint takes longer to cure.  But as soon as it's in the house and ready for show, I will post the completed project. 

UPDATE:  We can now check this project off our to do list.  The door is now officially a desk.

Before
                                                                             After
I love how the room seems so much larger, simply by have nothing under the desk.  The downside is that there are no drawers and I have lost all that storage.  Several times this evening, I have had to get up and go to the other desk, and retreive supplies. 

We are thinking about cutting the drawers off of the old desk, painting them the same color as the new desk, adding wheels to the bottoms and rolling them under the new desk.  It might work.  In addition to having drawer space, those drawers hid all the cords...you now can see every cord...eww...so not attractive.  Those drawers served several purposes...storage and hiding the cords.

Now, that I have the new desk, I want a new chair.  Not a computer chair, but a real desk chair.  Maybe I can find one at a thrift store, yardsale or side of the road, one that just needs some TLC, like a new paint job and/or recovering it with some new fabric...keeping fingers crossed.

Reminder To My Sister....you should be able to click on a picture to enlarge it.